
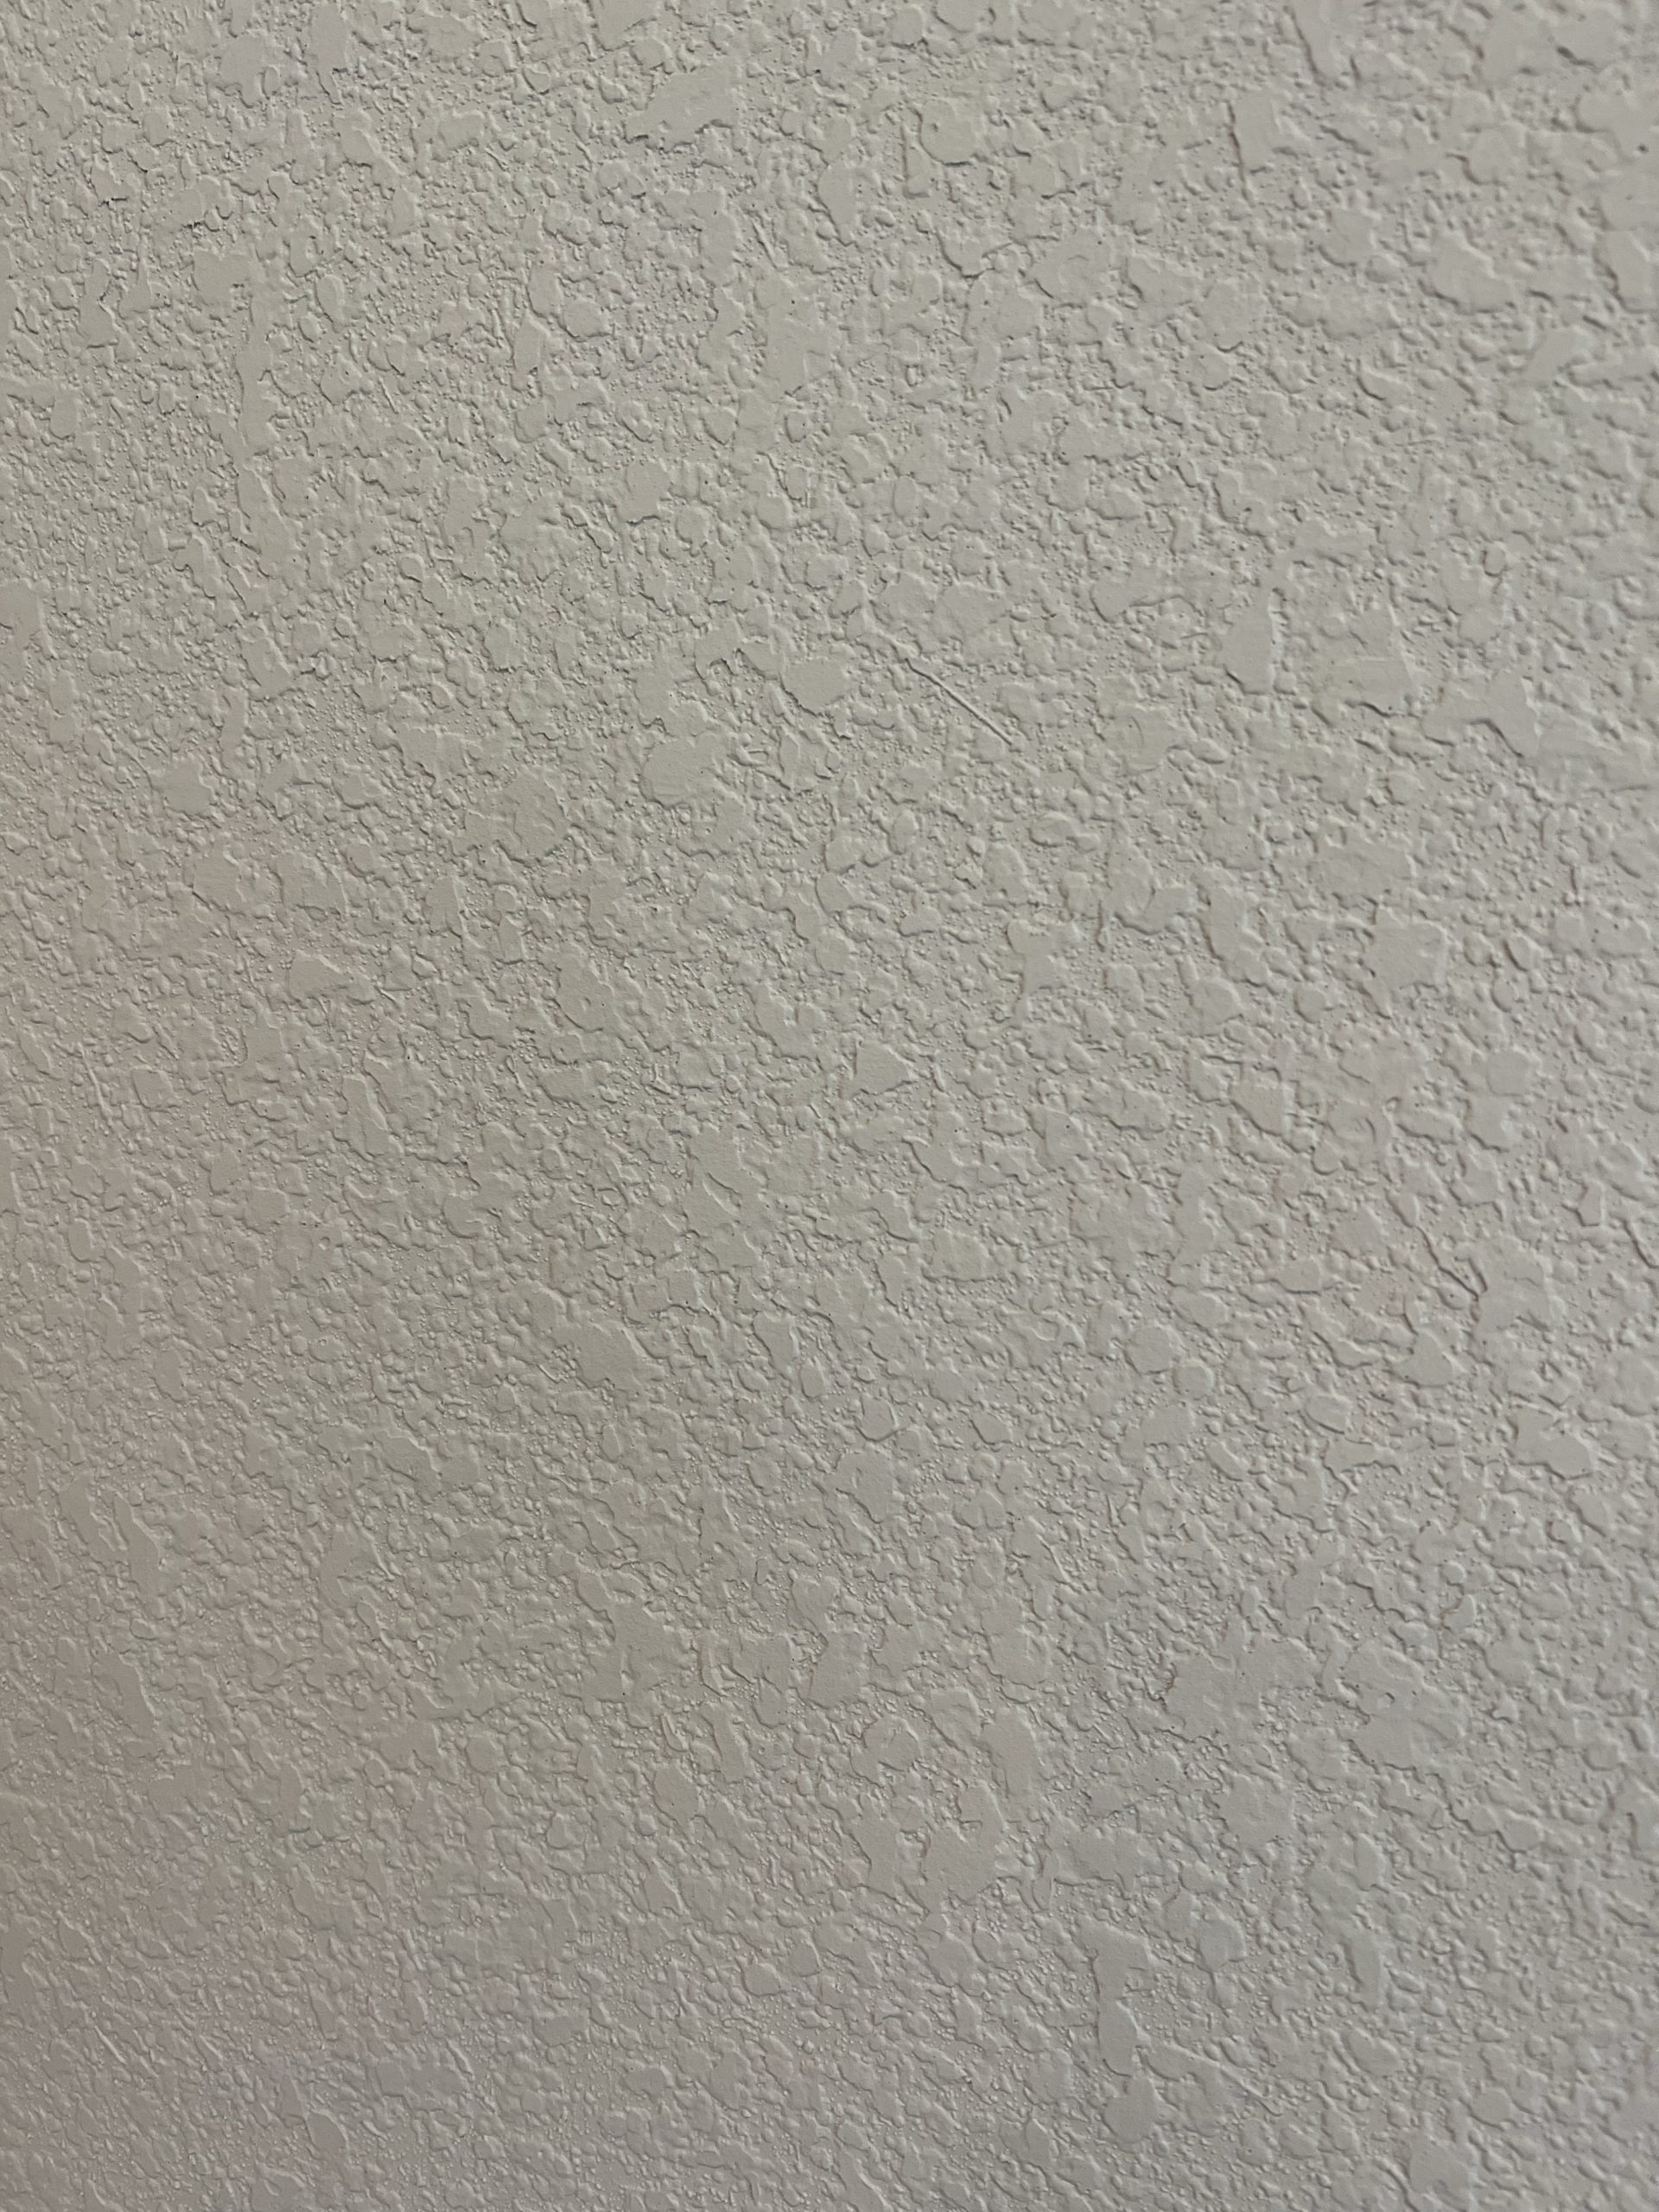
We just completed a fun little makeover in our oldest two boys’ room and the number one question I have received over on the gram is “Why did you skim coat the walls?” We live in Texas and we have very heavy knockdown textured walls. It is recommended to install wallpaper on fairly smooth walls for better adhesion and so you don’t see the bumpy texture under the wallpaper. I knew it was best to skim coat over the texture for the wallpaper section on the tops of the walls. The bottom of the walls we did a double board and batten. In my opinion, board and batten looks much more professional with smooth board sections rather than texture. I figured, let’s just skim coat the entire room! And that’s what I did. This is what our knockdown texture looks like.
The Process
So what is skim coating? A skim coat is when you apply diluted joint compound to the walls and smooth it out with a drywall knife. The joint compound fills in the low areas of the texture! I was so nervous to give skim coating a shot. It is definitely labor intensive, but it’s doable for a DIYer!
Materials Needed
Everyone has their preferred tools to skim coat, but this is what I found worked best for me.
- Joint Compound
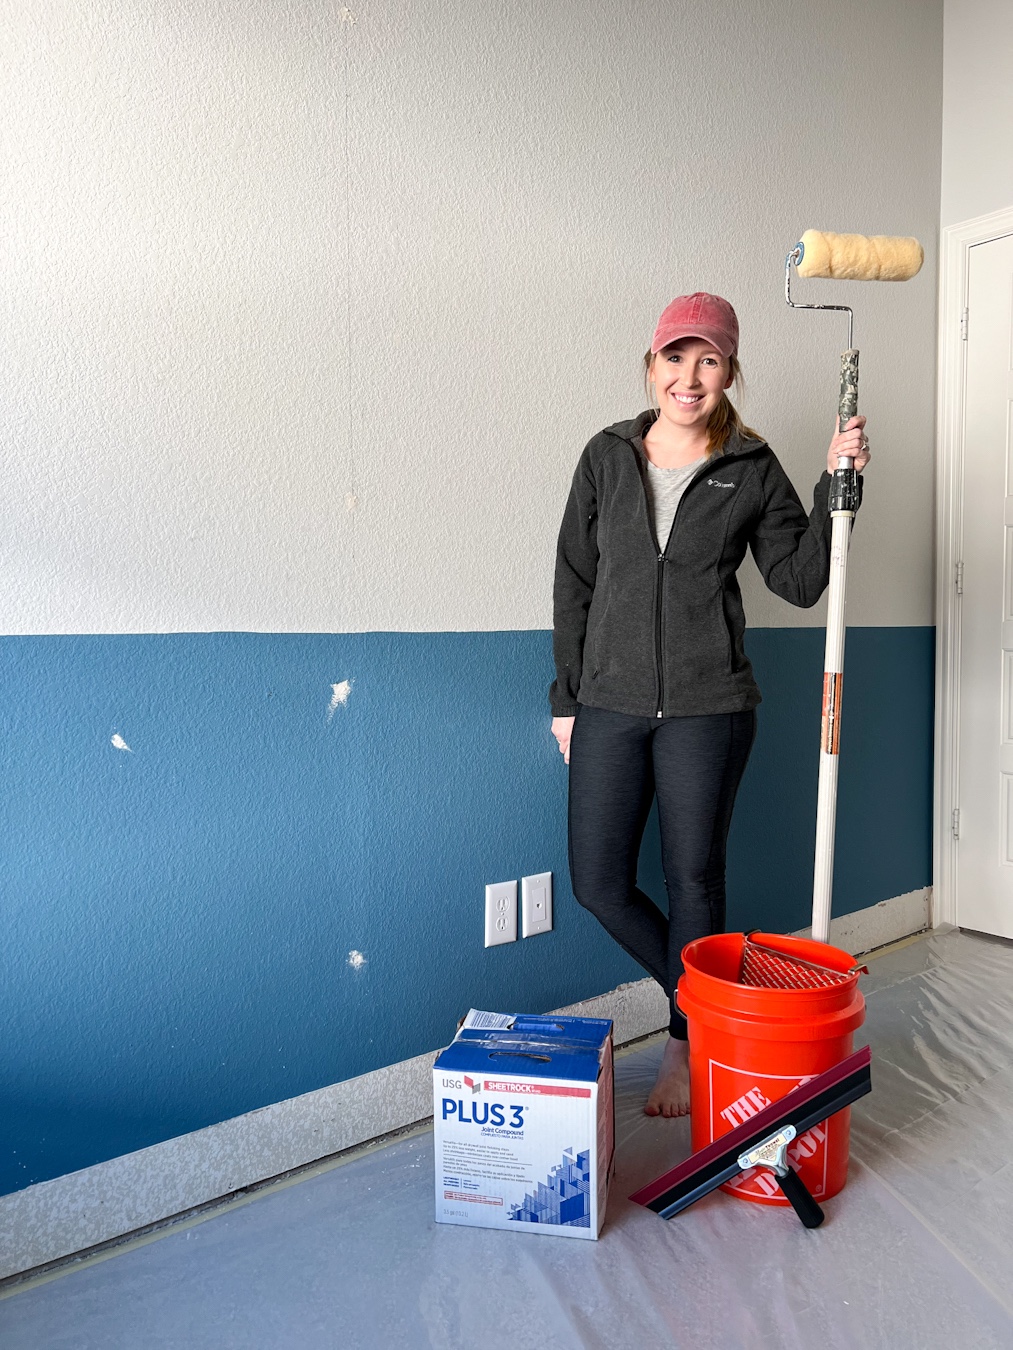
- I used Plus 3 by USG Sheetrock after reading many, many tutorials.
- (2) 5 gallon buckets
- A paddle mixer and drill
- 3/4 inch nap roller
- Paint roller and pole extension
- 6 inch and 12 inch drywall knives
- Mud pan
- Spray bottle
- Pole sander and sandpaper (I only used 220 grit)
- Plastic and painters tape if you need to cover floors or doorways
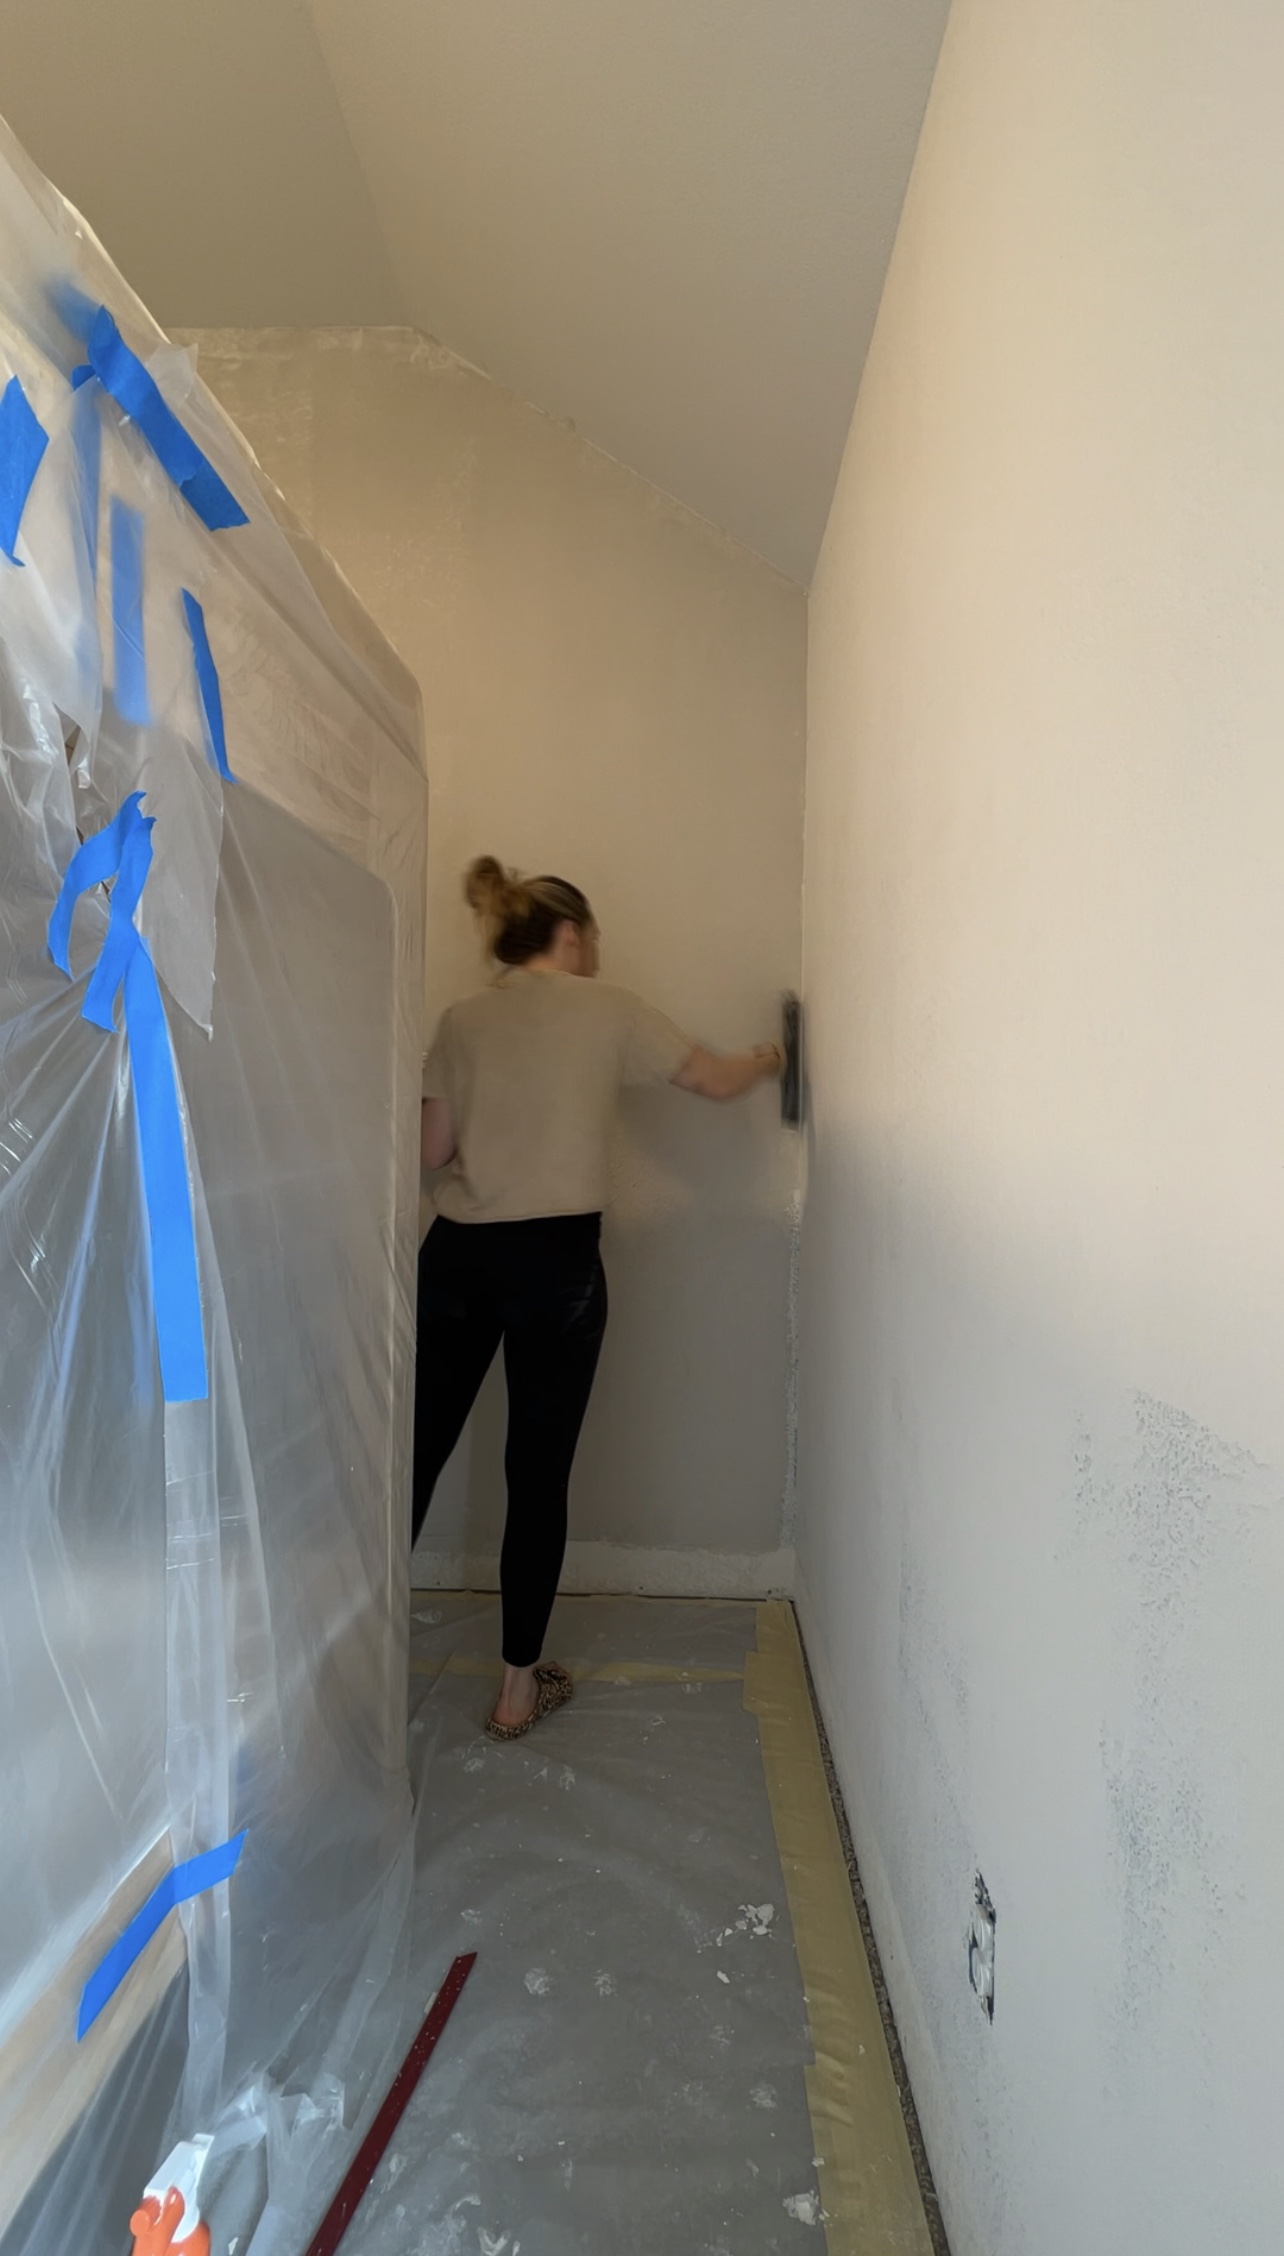
If you notice in my picture, I was originally using a Magic Trowel after seeing so many recommendations. I did not feel like I could get a smooth finish like I could with a drywall knife.
Prep Work
To get started, prep your space by covering your floors with plastic (if needed!). I was skim coating in a room with carpet so I laid down 3 millimeter plastic and taped it along the perimeter of the room. Next, use your 6 inch taping knife to knock down any peaks or high areas on your current texture.
Mixing Your Joint Compound
Now let’s get to the fun part! The Plus 3 joint compound I use comes premixed in a box. Dump the joint compound into your 5 gallon bucket and thin it down with water. You want it to be pancake batter consistency. I personally found it best to start slow and mix small amounts of water into the joint compound and mix with my paddle mixer drill attachment. I filled my second 5 gallon bucket with a little bit of water and let my mixer sit in the water while I was working so it wouldn’t dry out if I needed to mix the joint compound later on. It was so nice to have a ‘wash rub’ of sorts close by. I used the water and a rag to clean my hands/arms and to wipe off my taping knife between sections.

Applying the Joint Compound (aka mud!)
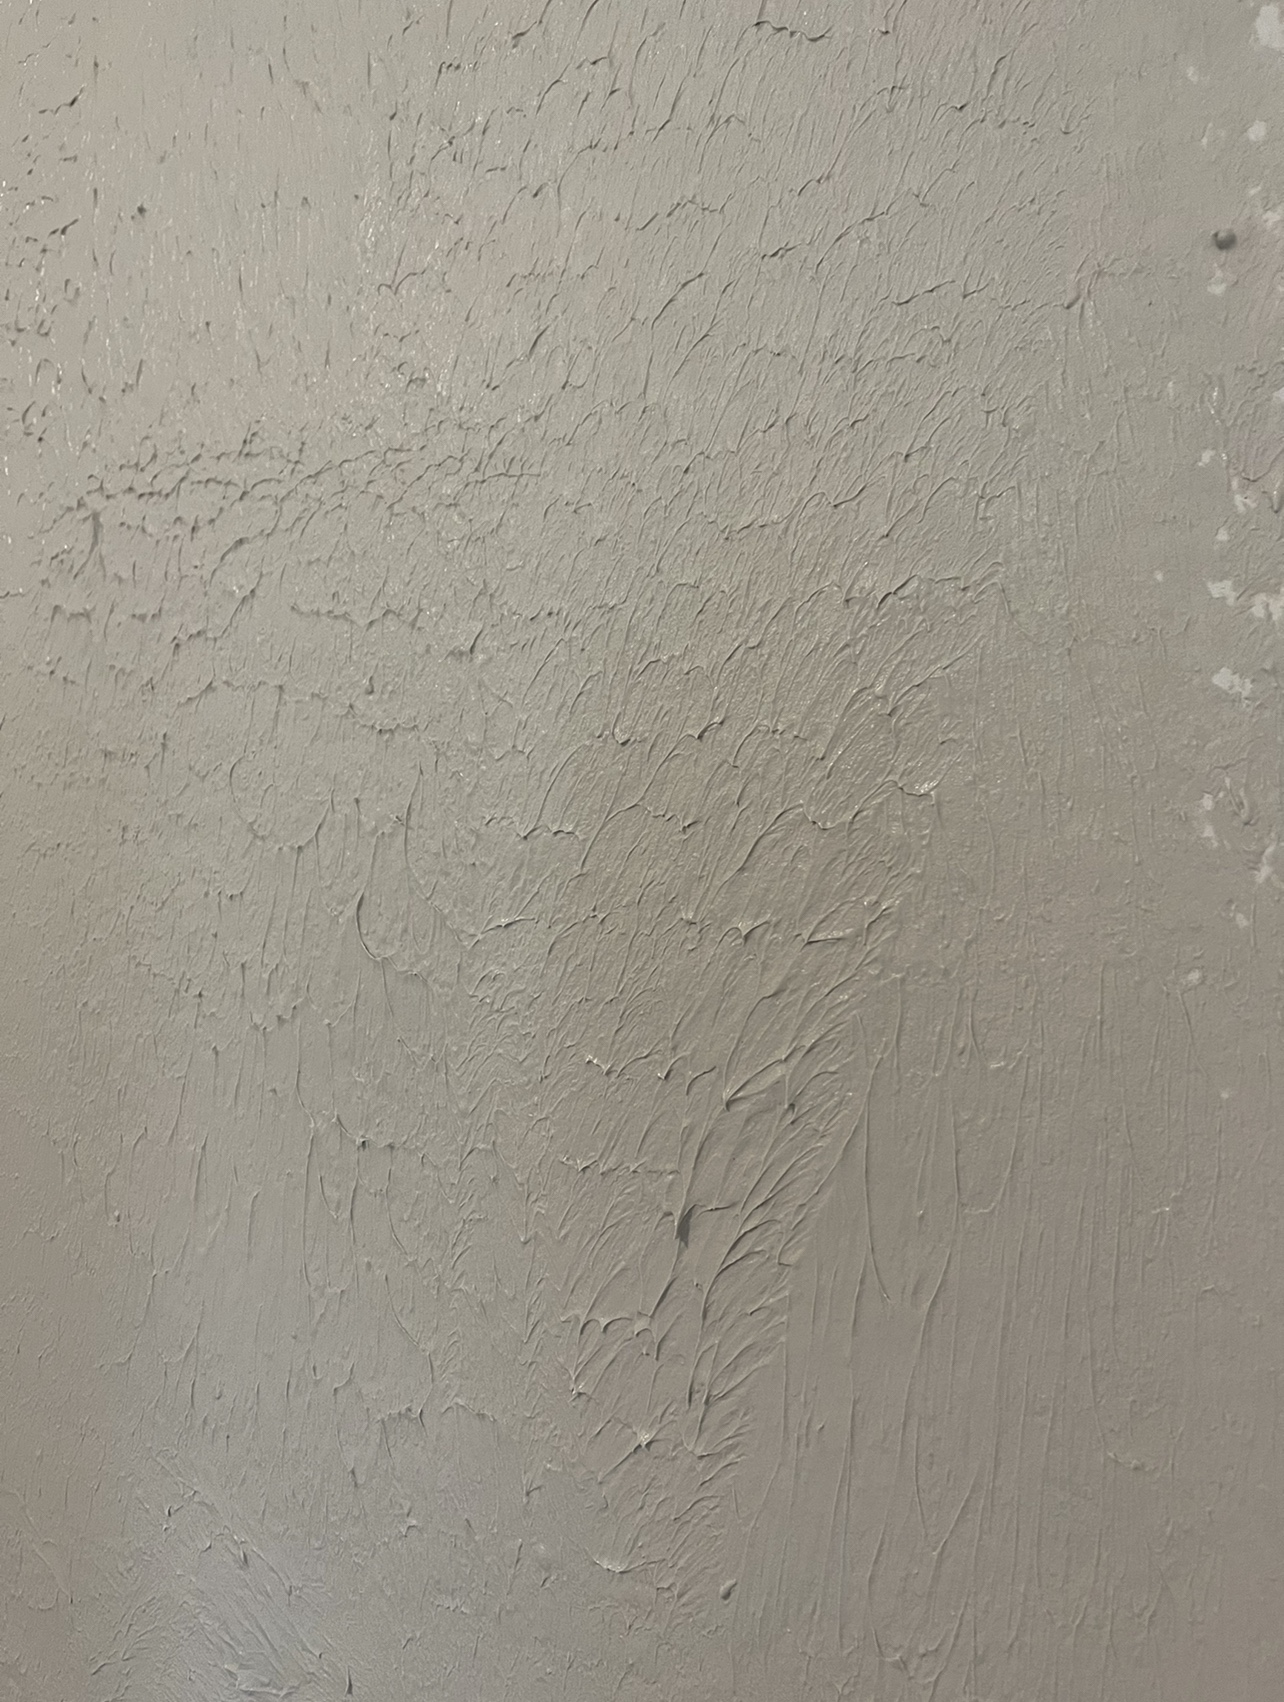
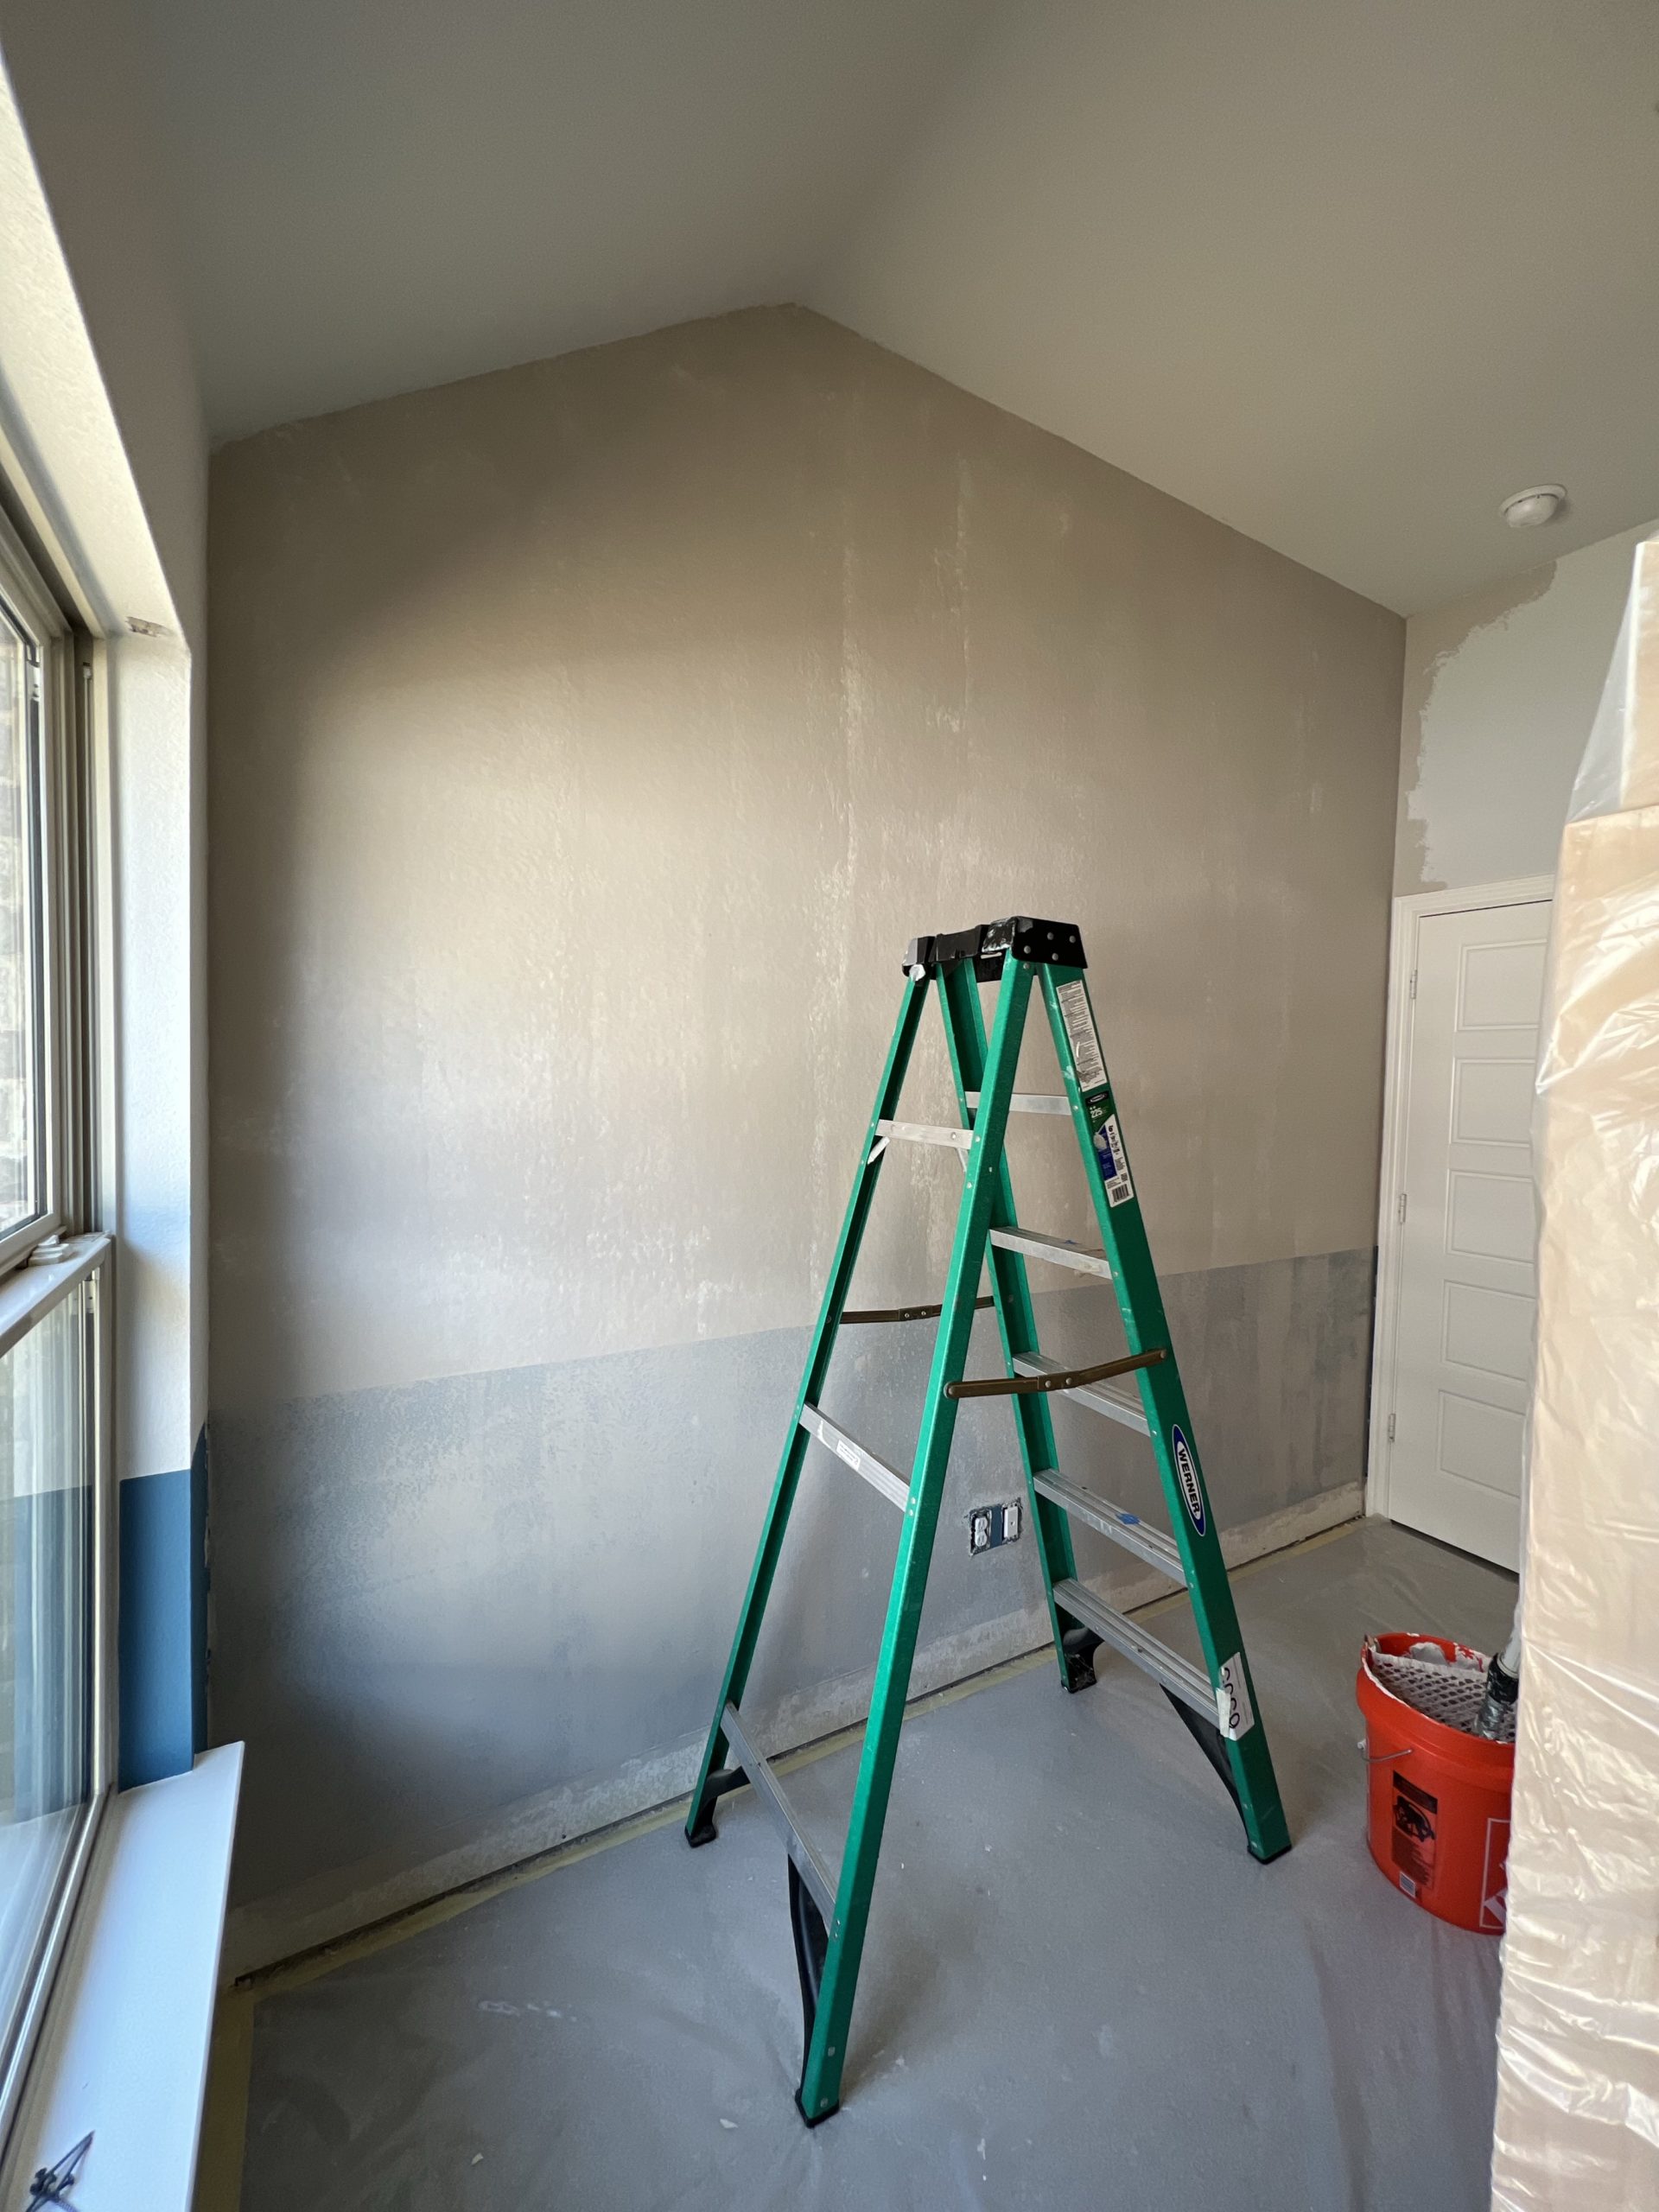
Roll your 3/4 nap roller directly into your 5 gallon bucket. It takes some practice, but you’ll get the hang of it in no time! I liked to work in 2 ft wide sections so the mud wouldn’t try too quickly. Roll the mud onto the wall! You want to apply it heavy! It should look like this:
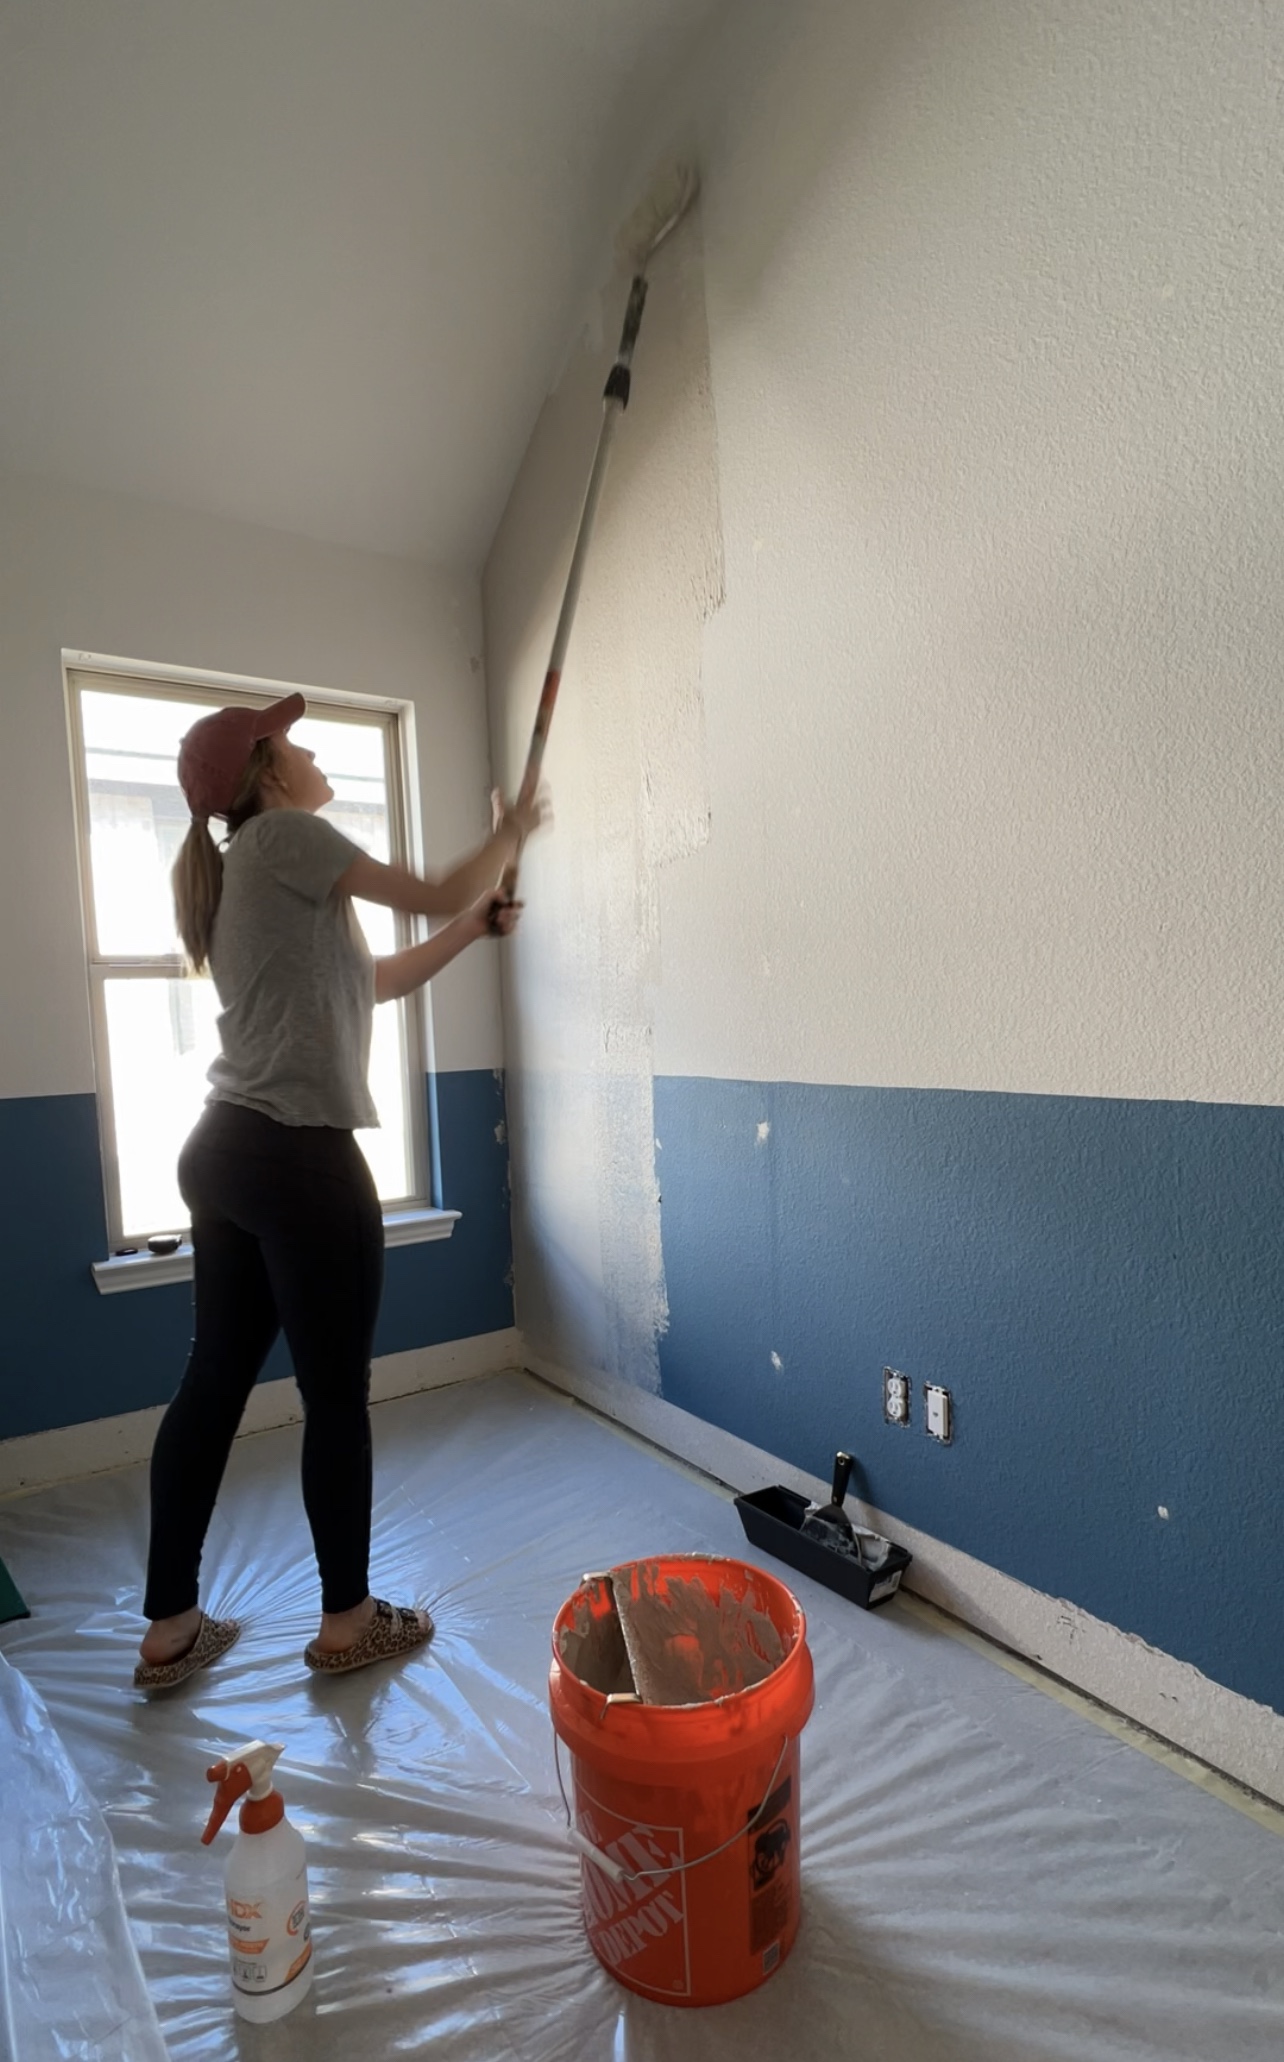
Next, use your 12 inch drywall knife to smooth out the mud. It’s really a matter of trial and error while you figure out what works best for YOU! Play around with the angle that you are holding your knife. I found it best to work downward from the top of the ceiling and then I would go back left to right to smooth out any imperfections. Make sure you don’t apply too much pressure or you will remove too much mud. This also risks the corner of the knife gouging your drywall. The first coat will not look pretty and it’s slightly terrifying—you will see a major difference with the consecutive coats!
Before you move onto the next section, use a spray bottle to spay the edge. This will prevent the mud from drying out and it will help the two sections blend in better!
I had to do 3 coats on our walls before they were smooth enough for sanding. I used 220 grit sandpaper on a pole sander to sand all of the walls. Be sure to open and windows and remove the screens to get some additional airflow and a way for some of the dust to escape.
Prime Your Walls
Lastly, you need to prime your new skim coat! All fresh drywall should be primed because it is porous and will absorb your wall paint. I used Kilz PVA Drywall primer.
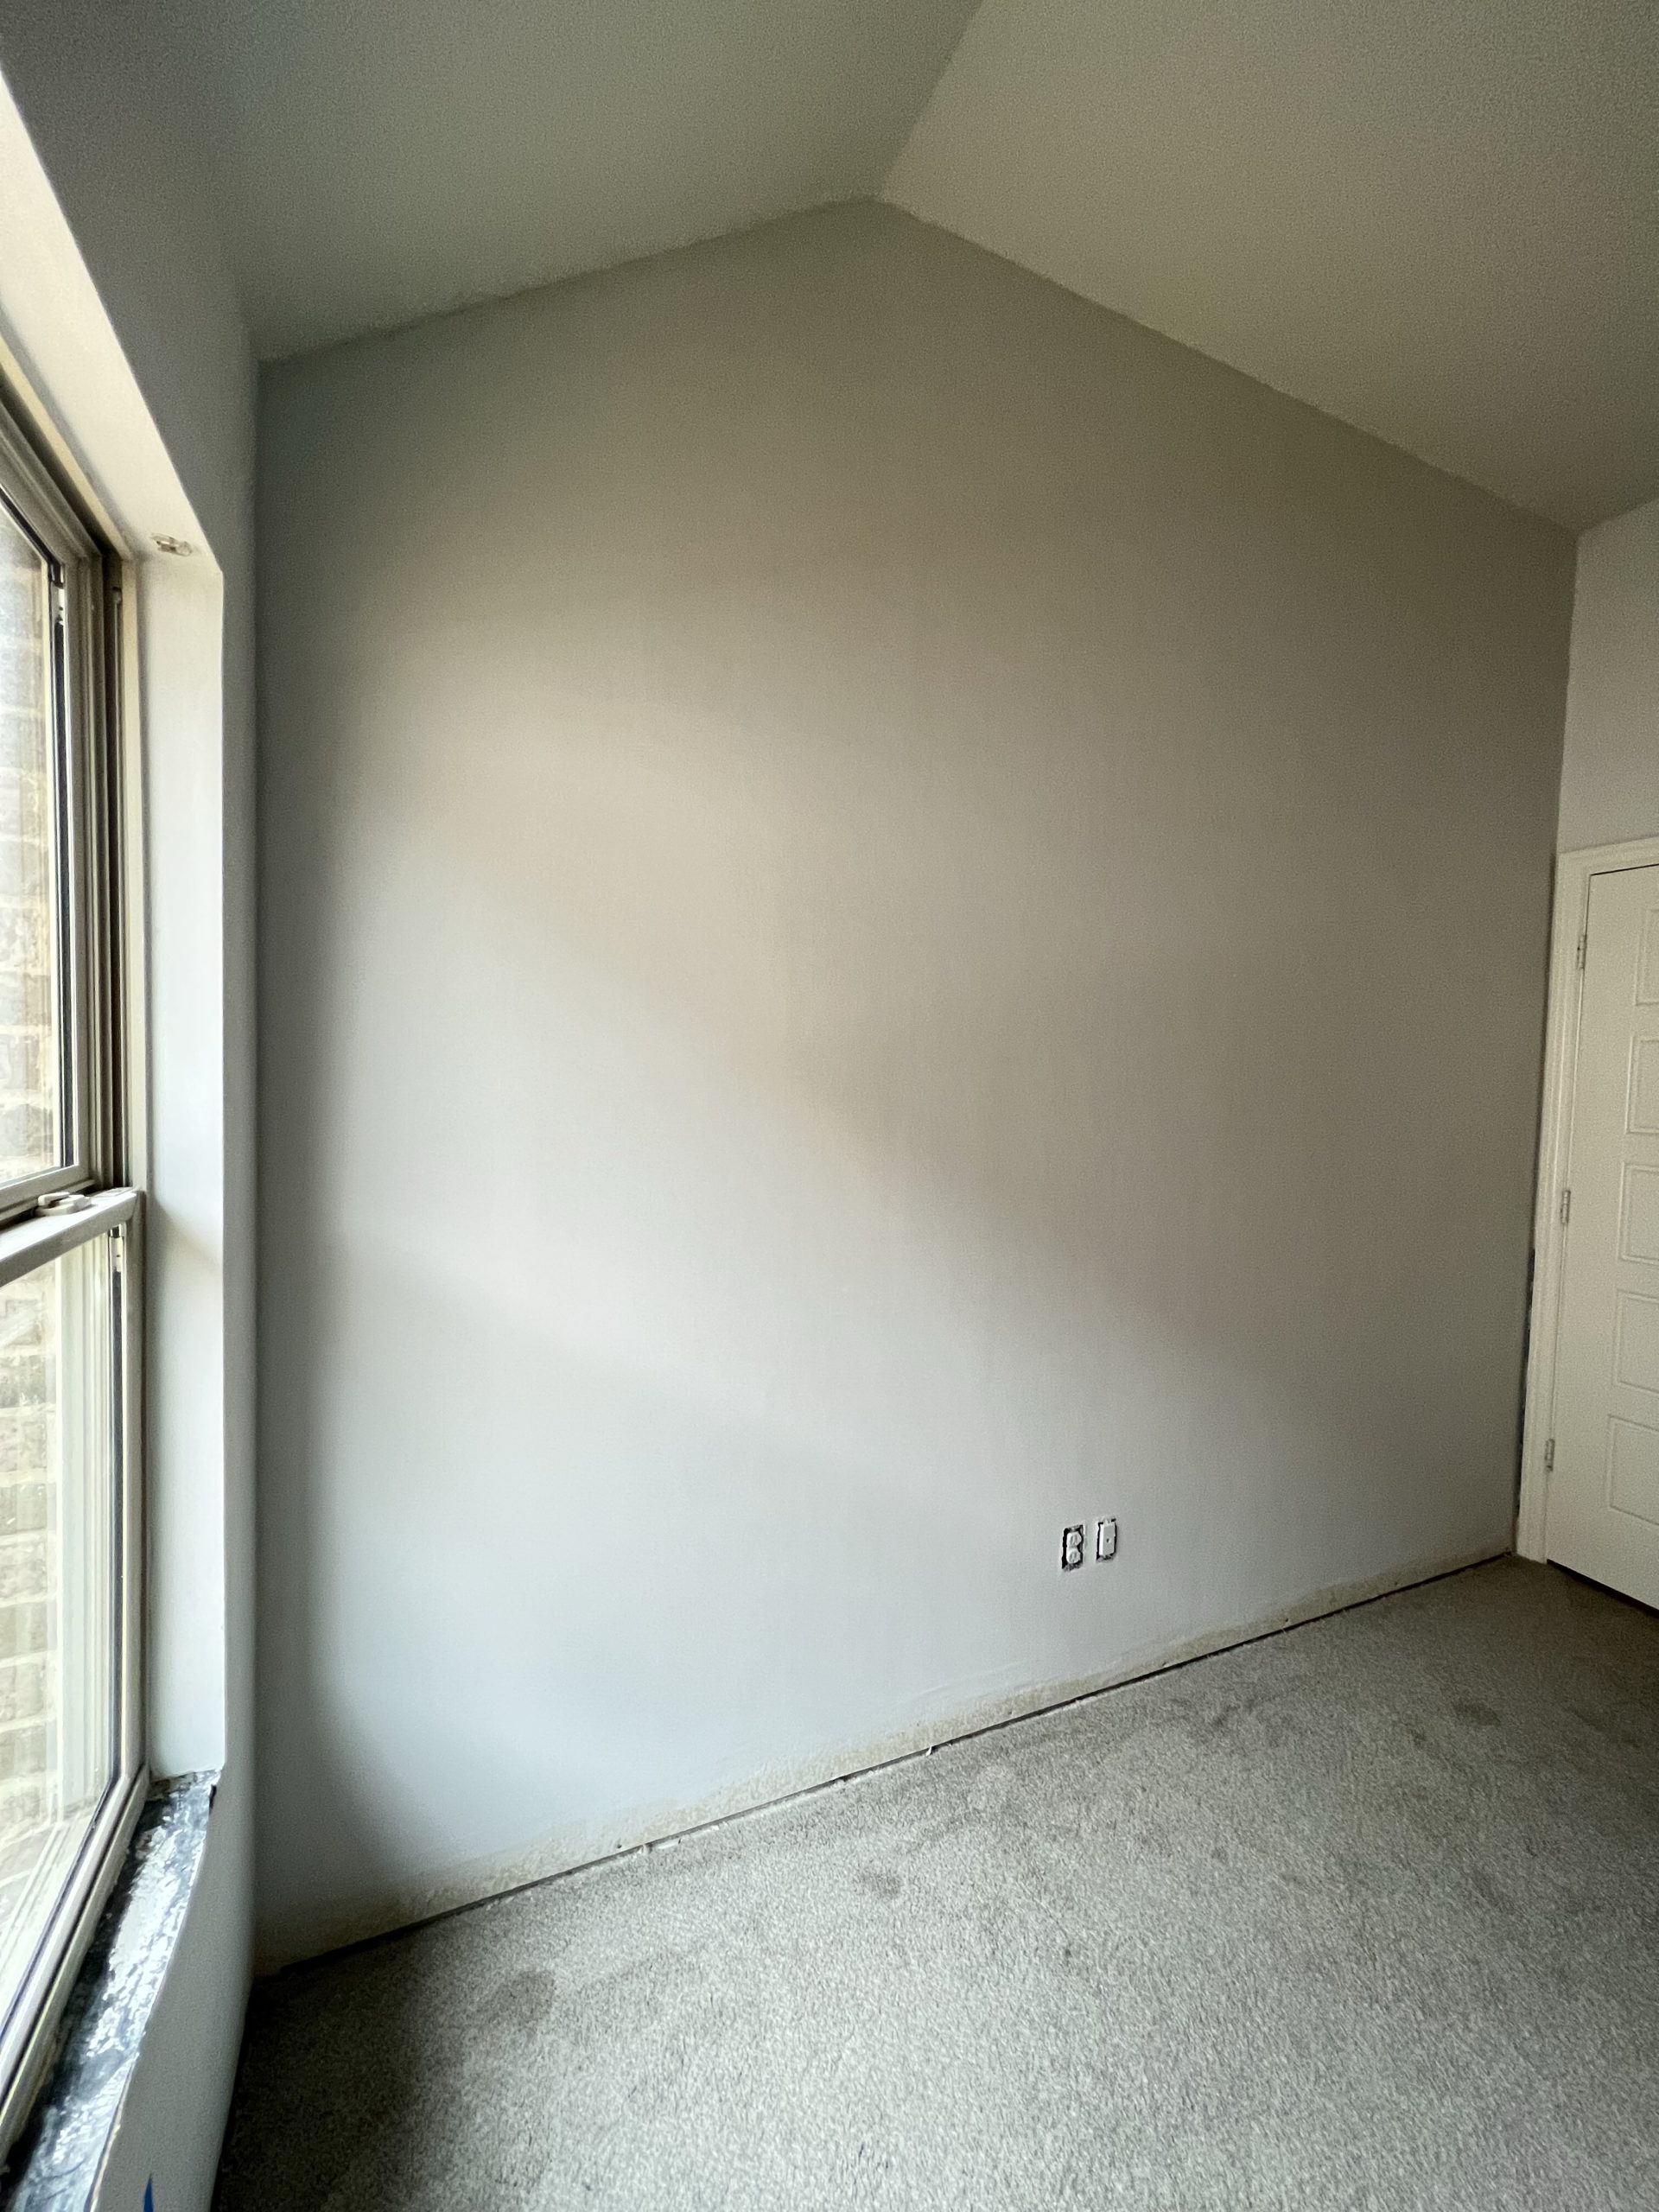
The Million Dollar Question: Was It Worth It?
YES. 100% yes. Having smooth walls made it much easier to apply the peel and stick wallpaper and our board and batten looks much more professional without the texture peeking through. It was a lot of labor, but it was cheap and doable and a tad bit messy. Ha! If you are on the fence about attempting to skim coat, just go for it. It’s terrifying starting out, but it gets easier the more you do it!
Much love,
Hannah
Leave a Reply


Would it still be worth it if you did not cover it with wallpaper? I’m wanting smooth walls throughout my house. I have ugly orange peel texture.