
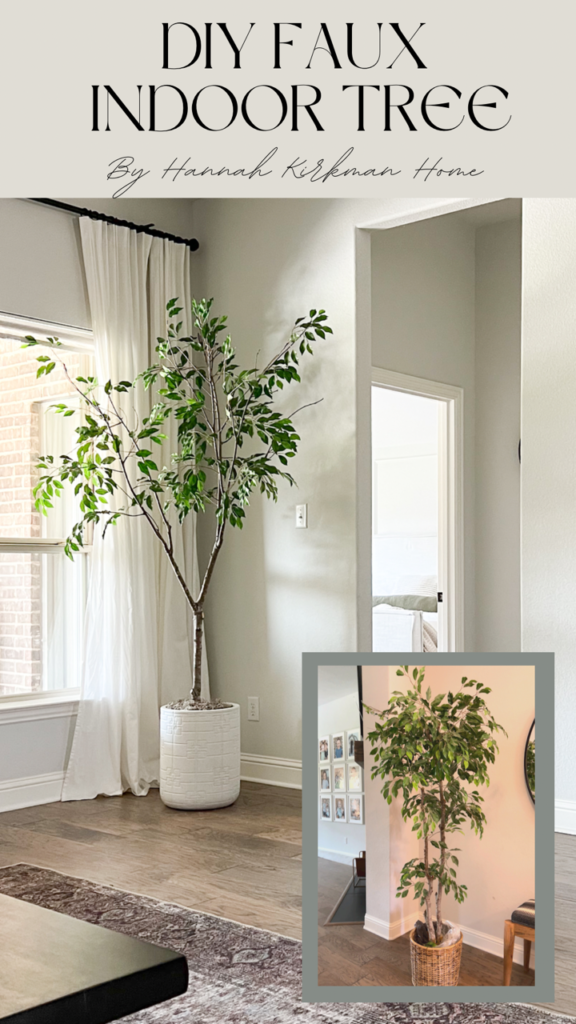
It seems like all of the living room inspiration photos I come across have one thing in common; some kind of beautiful indoor tree. But not just any indoor tree. These trees are tall, whimsical and are a focal point for the space. Definitely not like the typical bushy type artificial trees we are used to from the 90s! Check out these living rooms and take note of the trees!


Houston We Have A Problem
The cost of these types of big, whimsical trees is way, way, way outside of my budget. We are talking $500+. Some I came across were upwards of $1,500—for a fake tree. No way, Jose. That just isn’t happening. There is something you should know about me: I am one determined individual plus I am crafty. So, why not DIY my own tree for about $30 instead? Sign me up. Houston, let’s make a tree!
If you followed me on Instagram Stories or watched my Reel then you already have somewhat of an idea of how I made a beautiful faux tree. Stick around though! I am going to give you all of the juicy details and instructions so you can make your very own faux tree for a fraction of the price!
Whatcha Need?
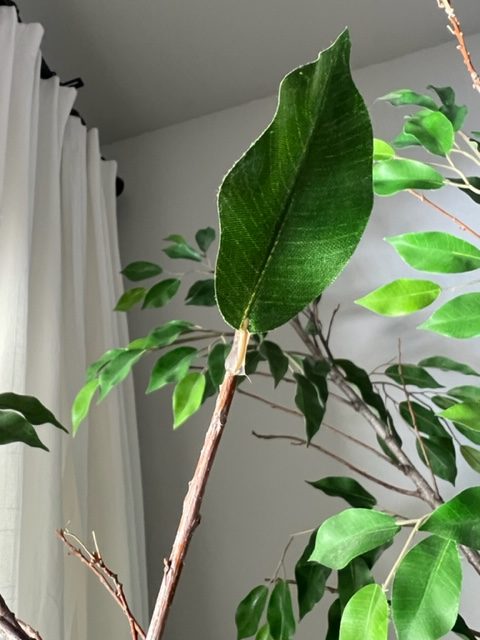
- Scour Facebook Marketplace or thrift stores for an outdated, ugly artificial tree. The key here is to find a tree that has leaves that you like and, of course, find a tree for as cheap as possible! I got mine for $10!
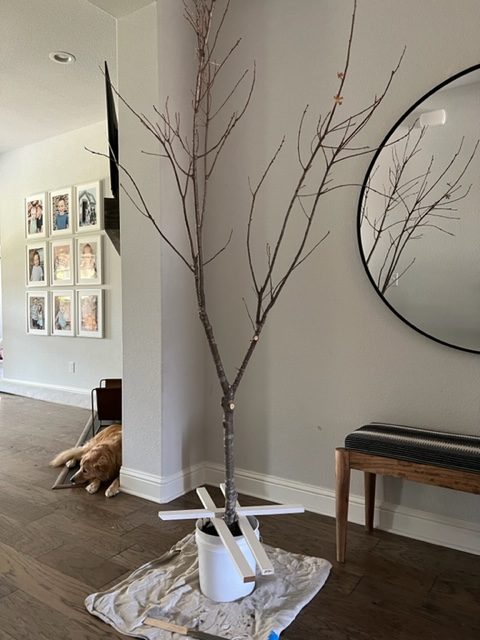
- Find a real branch that you will use as your tree. I found it best to have a tree that has somewhat of a Y shape with lots of smaller branches towards the top!
- Fast setting concrete
- A plastic bucket
- Hot glue
- Brown floral tape
- Wire clippers
- Basket or large pot
- Moss
- Optional: Drill and tiny drill bit
Let’s Make a Faux Tree!
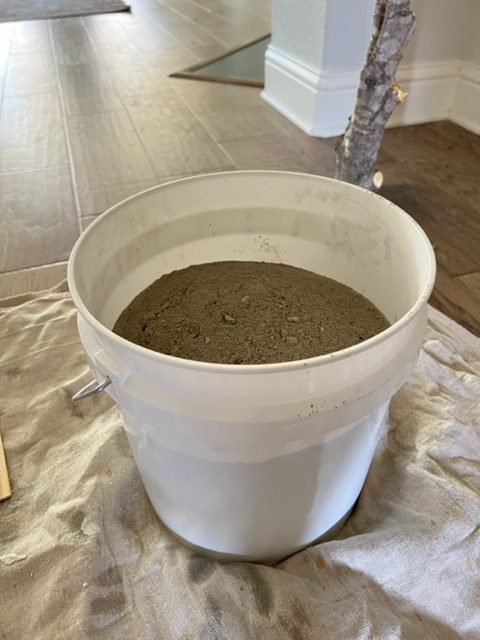
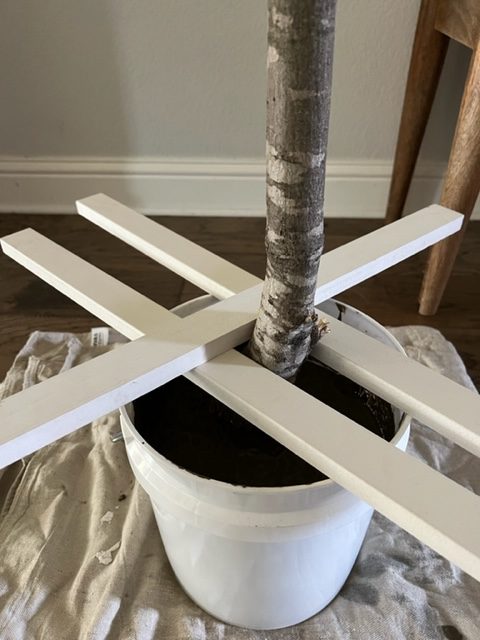
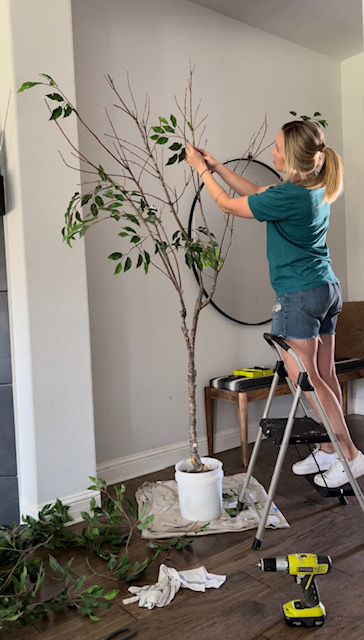
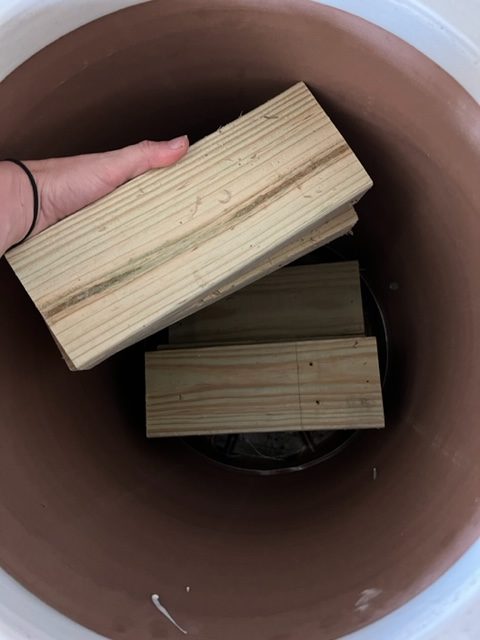
I started by trimming down my real tree—errr mine was actually a dead tree, but you get the point. I removed any unwanted branches and took off all of the leaves. Once I had the shape right I needed to set the tree in concrete. I poured some dry concrete mix into my bucket, poured in some water and then got to work mixing it up. I set my tree down into the concrete after I mixed the concrete and then I used scrap boards to make sure the tree was level and wouldn’t fall over. Some people prefer to set the tree and then mix the concrete in around the tree–either way will work! Just make sure you work quickly because the concrete will set fast.


While my concrete was setting I got to work on removing all of the leaves and branches from the artificial tree I got on Facebook Marketplace.
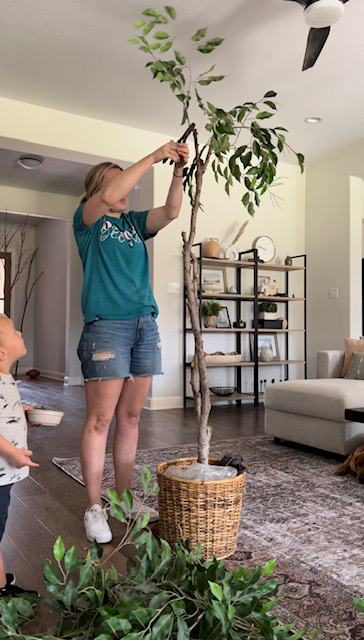
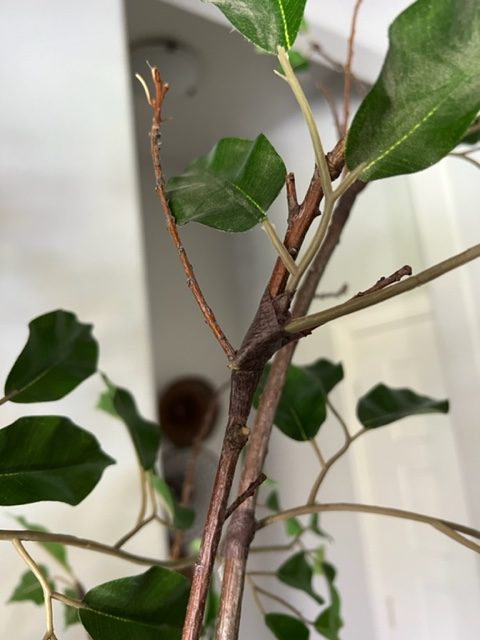
Now it is time to assemble the tree! I wanted the bigger stems towards the bottom of the tree for a more realistic look. This is when I used my drill and small drill bit to drill a hole into the tree. Then I used my wire cutters to snip off the plastic and reveal the wire. You can slide the wire into the hole and it should stay put pretty well. But because I am a momma of 4 little boys I chose to add some hot glue to the wire before inserting it into the hole.


It can be really intimidating to figure out where to place the branches, but once you get your main ones on it becomes much easier to fill in the bare spots! I chose to attach medium sized stems with brown floral tape and I used hot glue to attach everything else! Don’t worry—unless you are super up close and personal with the tree you won’t notice the hot glue or floral tape. 😉
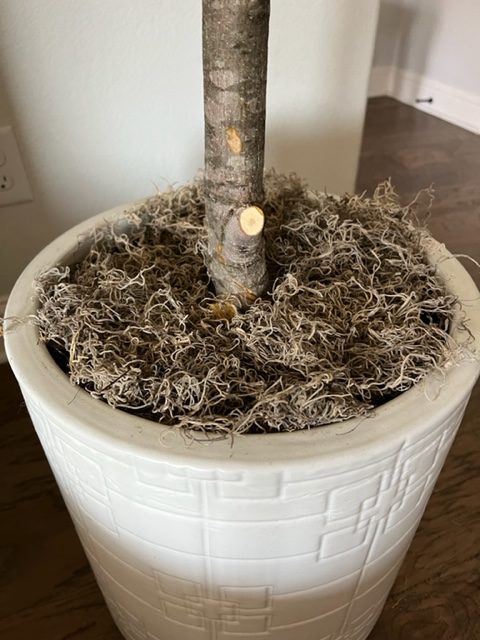
Once you are happy with the way your tree looks it is time to place it in a pot and get it ready to shine! I used scrap 2×4 in the bottom of my pot to give my tree some additional height. Then after you place your tree just add some moss to the base! Easy peasy.
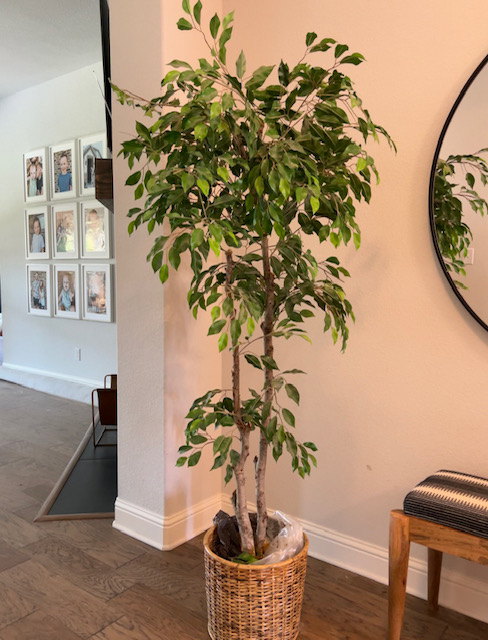
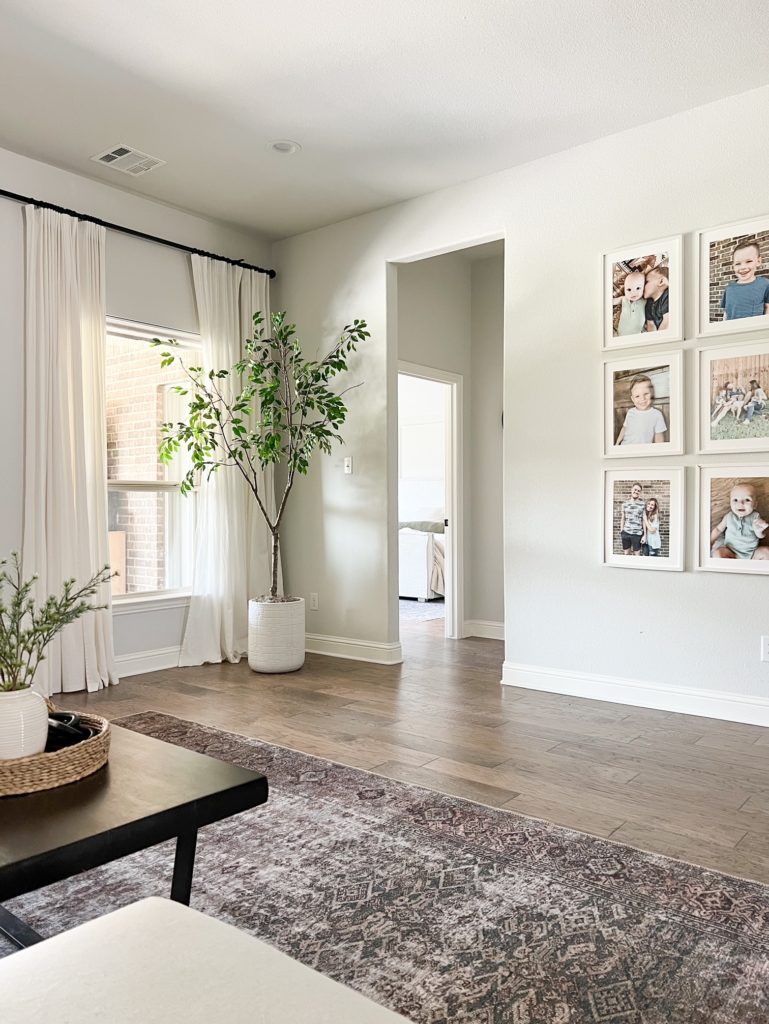
I shared on Instagram that I originally made this tree for our entry, but gosh dang it it was made for our living room! This tree really made a wow factor and I can hardly believe I only spent $30! THIRTY! Here she is in her new home:
Much love,
Hannah


