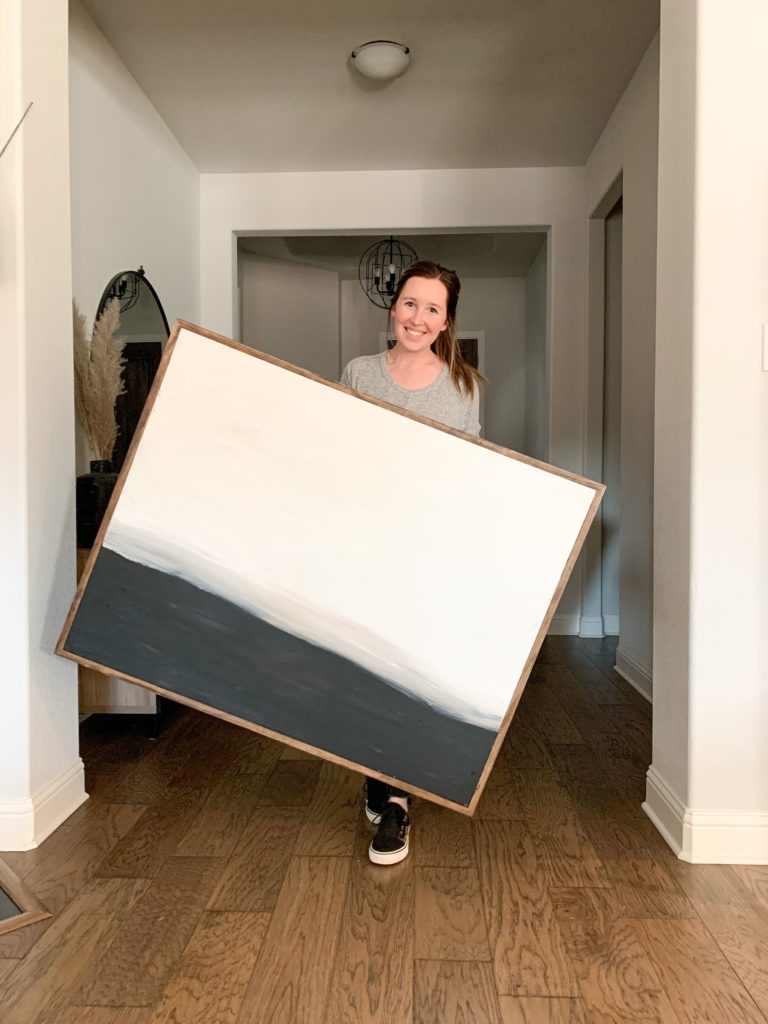
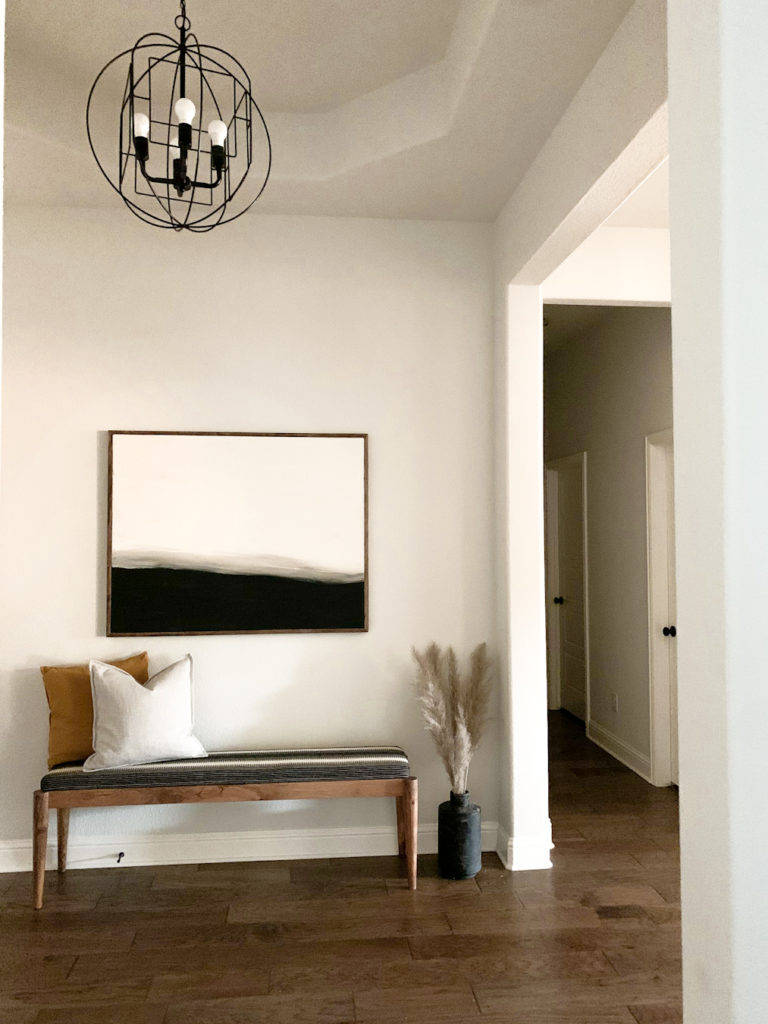
Have you seen the beautiful abstract canvases that company’s like Studio McGee sell? They are full of neutral colors and textures and just seem so calming. I absolutely love the style, but justifying the price is really difficult. I set out to find a solution and I am so please with how my DIY version turned out! For this project all you will need is an old canvas of your preferred size, paint, some kind of texture additive (plaster of paris, flour, or joint compound!) 1×2 wood and your favorite stain for the frame. Let’s get started!
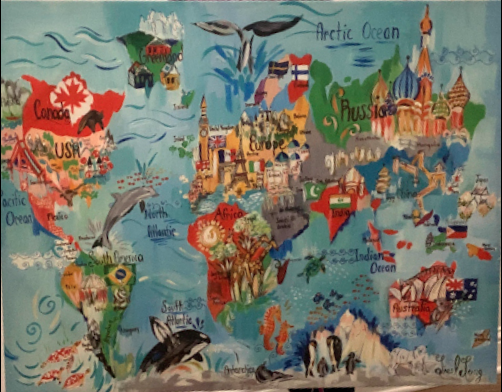
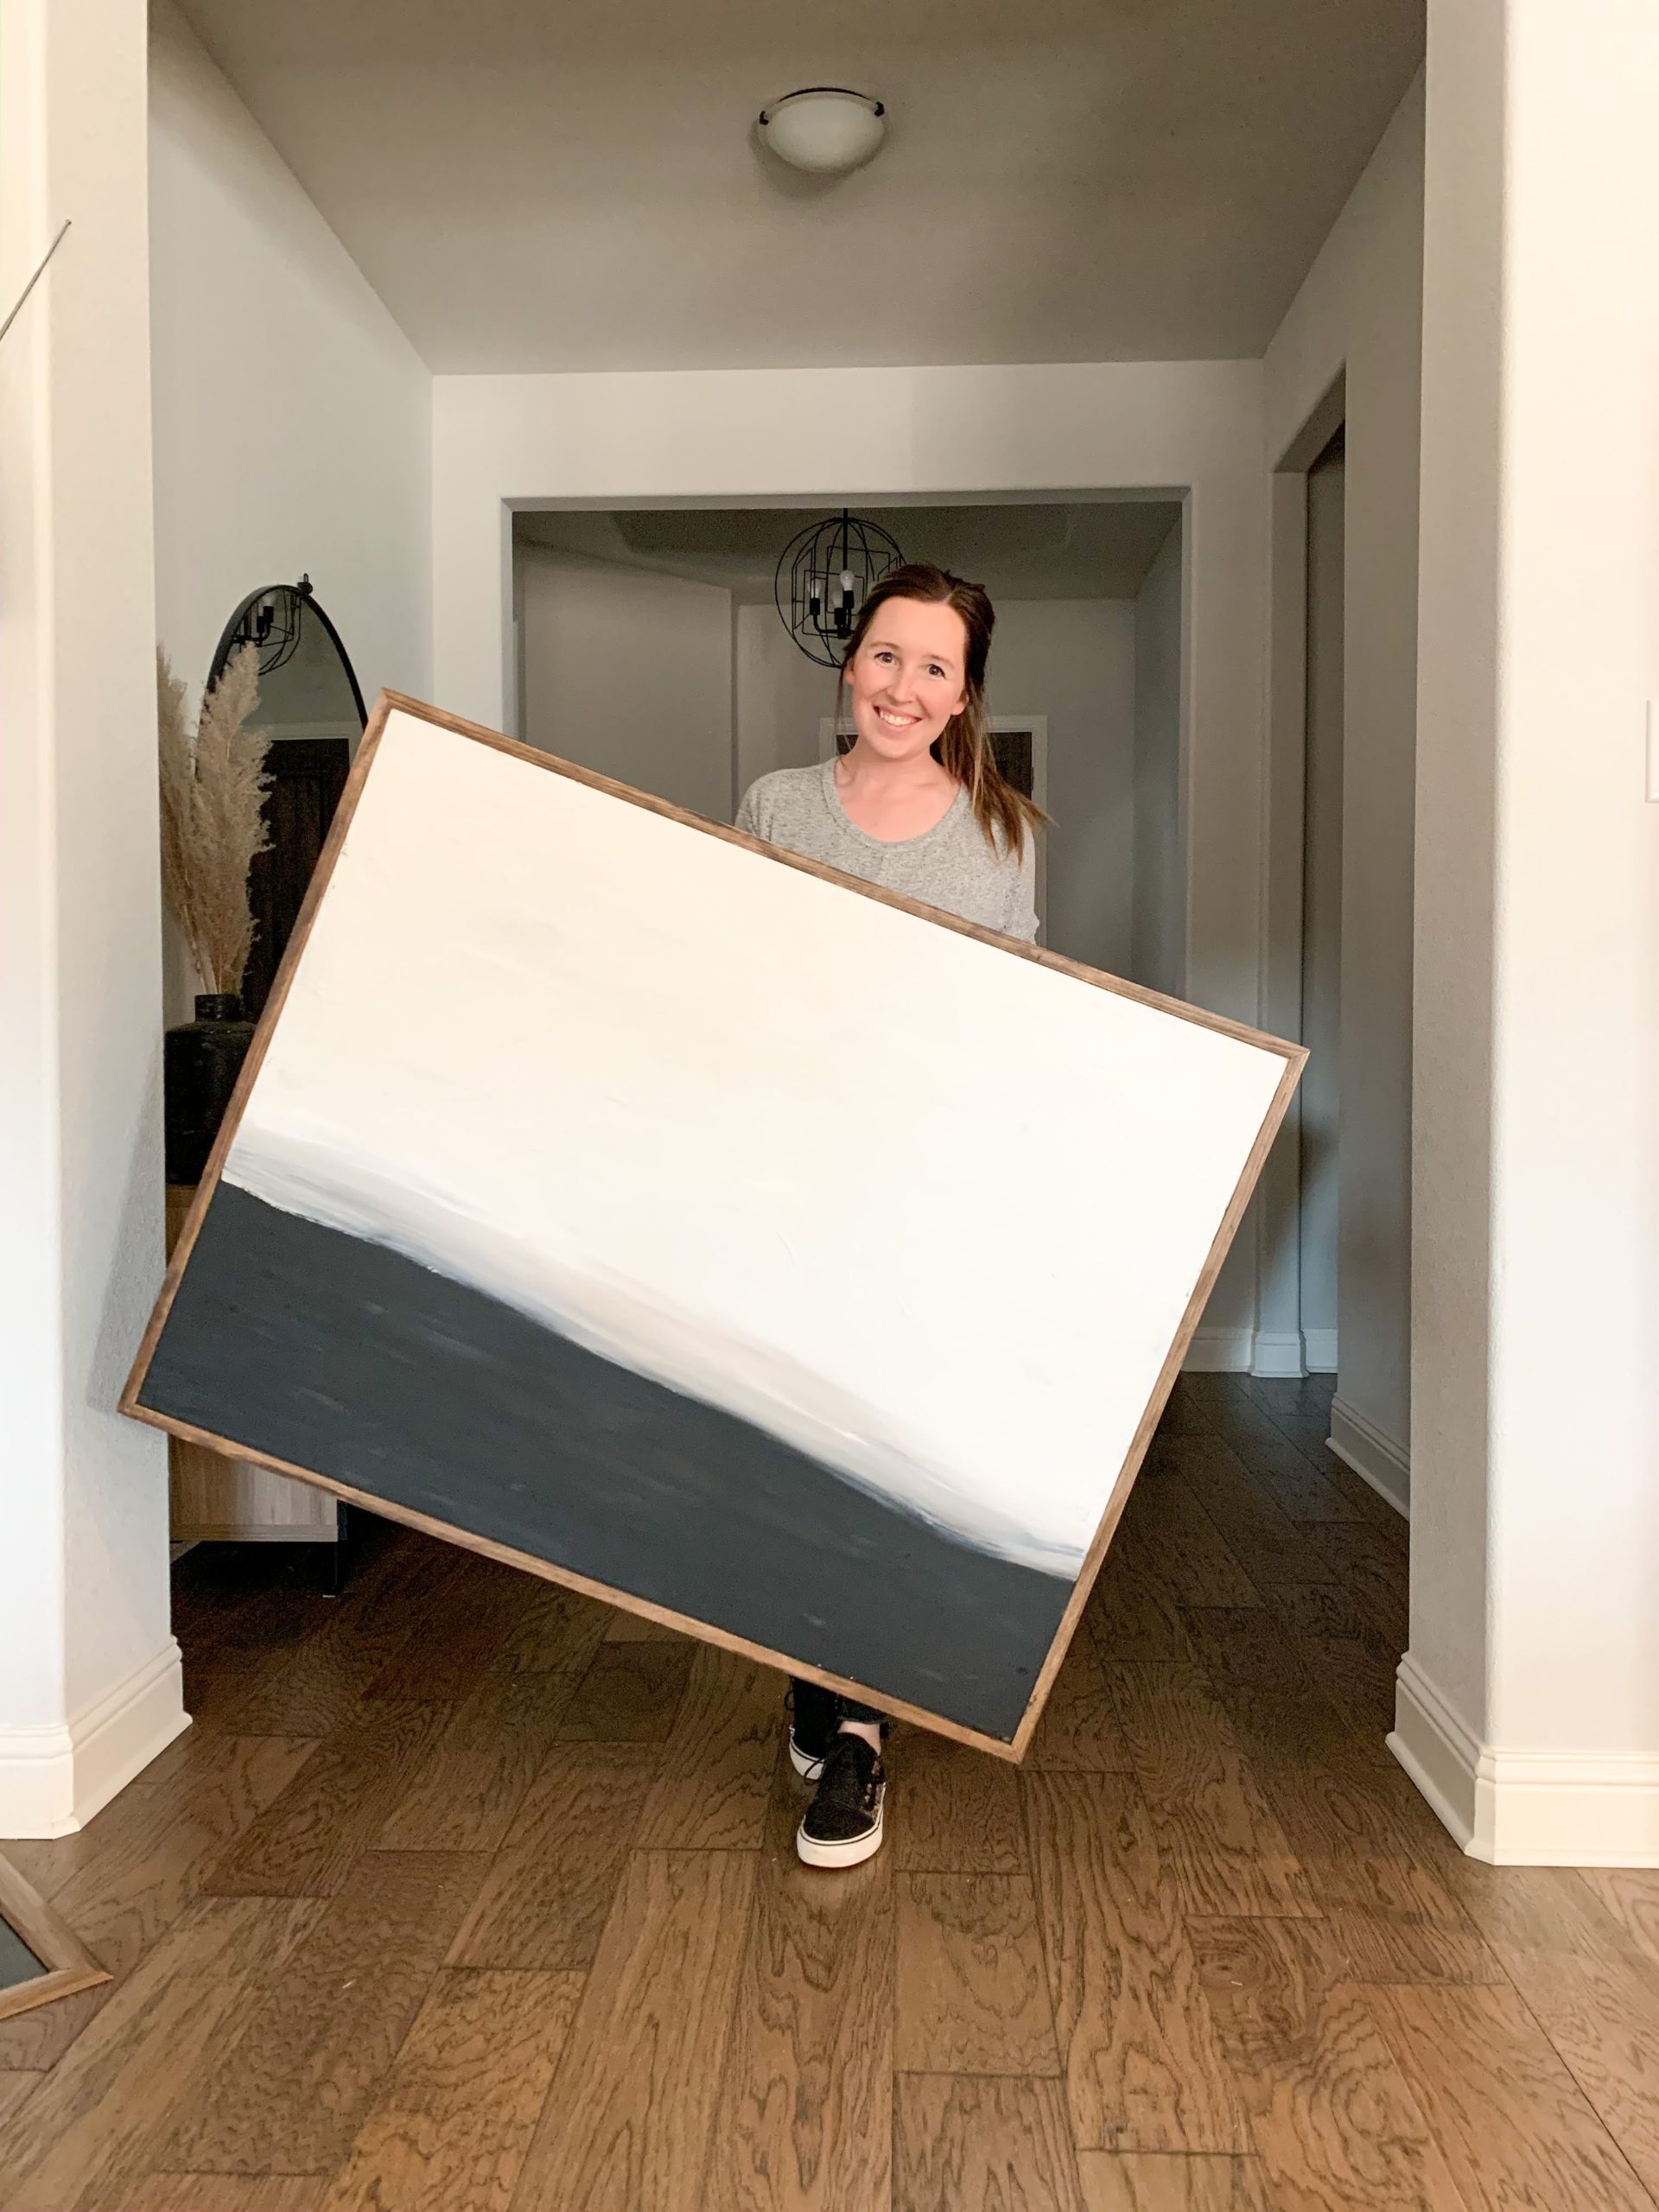
My mom had a large canvas of a map that she no longer wanted so I snagged it from her donation pile. Thanks, mom! It is about 2 ft by 3 ft and is the perfect size! You do not need to worry about the colors or what is on the canvas. Just make sure to find one in good physical condition and in the size you are wanting. The first step is to prime! This is where you will create a good base coat and cover all of the existing colors. Once the primer is dry, you can move on to the fun part!
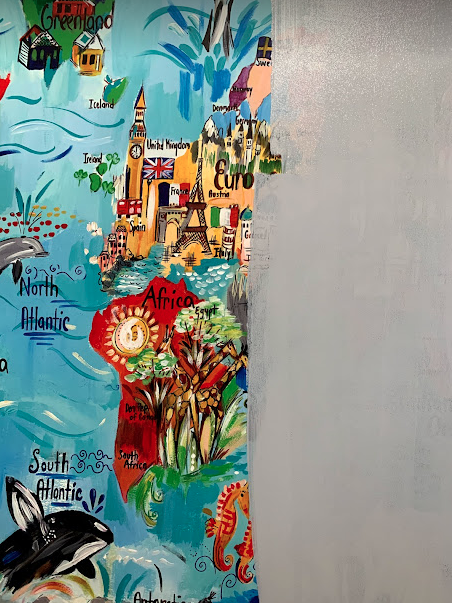
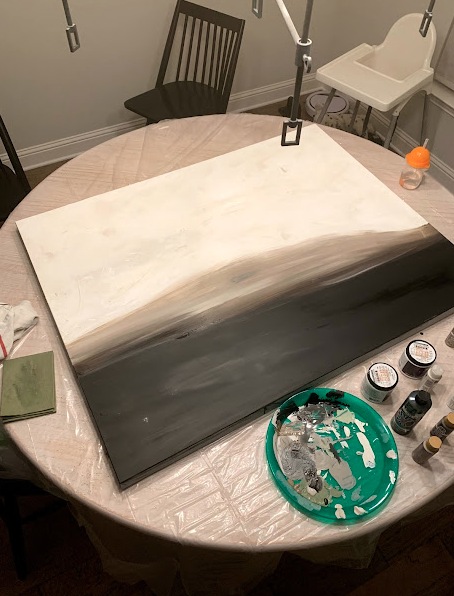
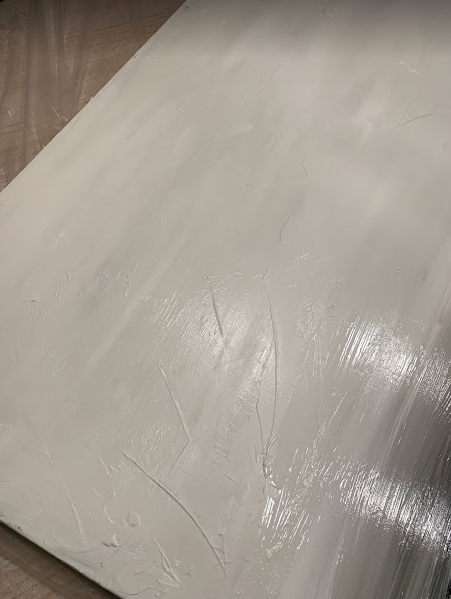
Next you will start adding your favorite paint colors. This part was both fun and frustrating! I started at the top and worked my way down and looked at Pinterest photos to help me visualize what I wanted. Do not be surprised if this part takes some time. It is most definitely a matter of trial and error! This is also the time that you will want to add some texture. I mixed up some plaster of paris and literally flung it on the top portion of my canvas. This will help bring depth and dimension to your art!

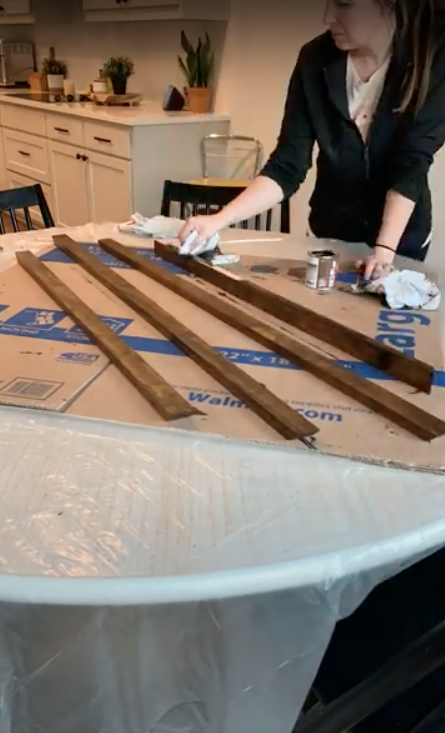
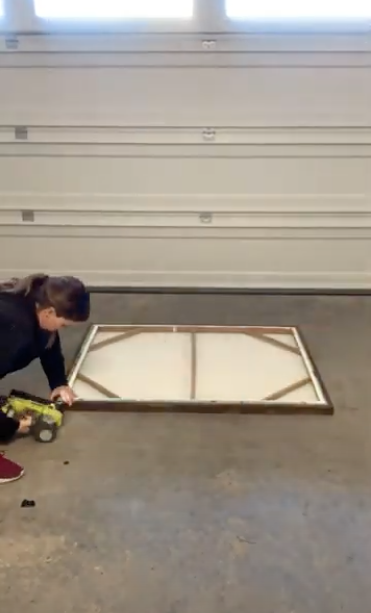
For the frame I used 1×2 select pine cut at 45 degree angles. I stained the frame pieces and then attached them to the canvas with brad nails.
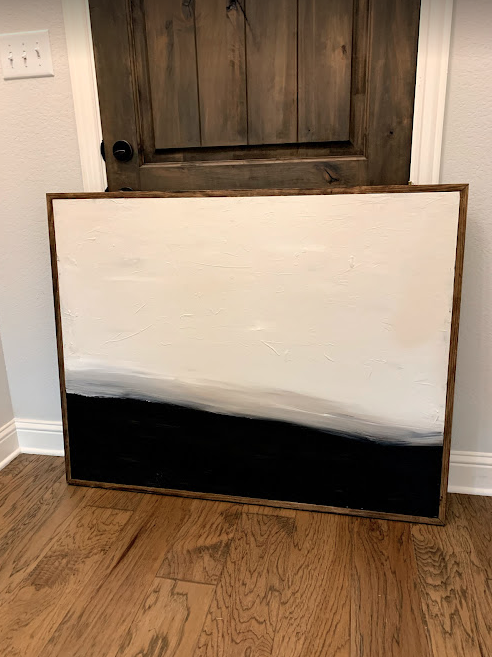
Ta-da! You’ve got yourself you own, homemade abstract canvas. This was definitely an easy project that brought the ‘wow’ factor. What old canvas do you have laying around that you can update?
Comments +